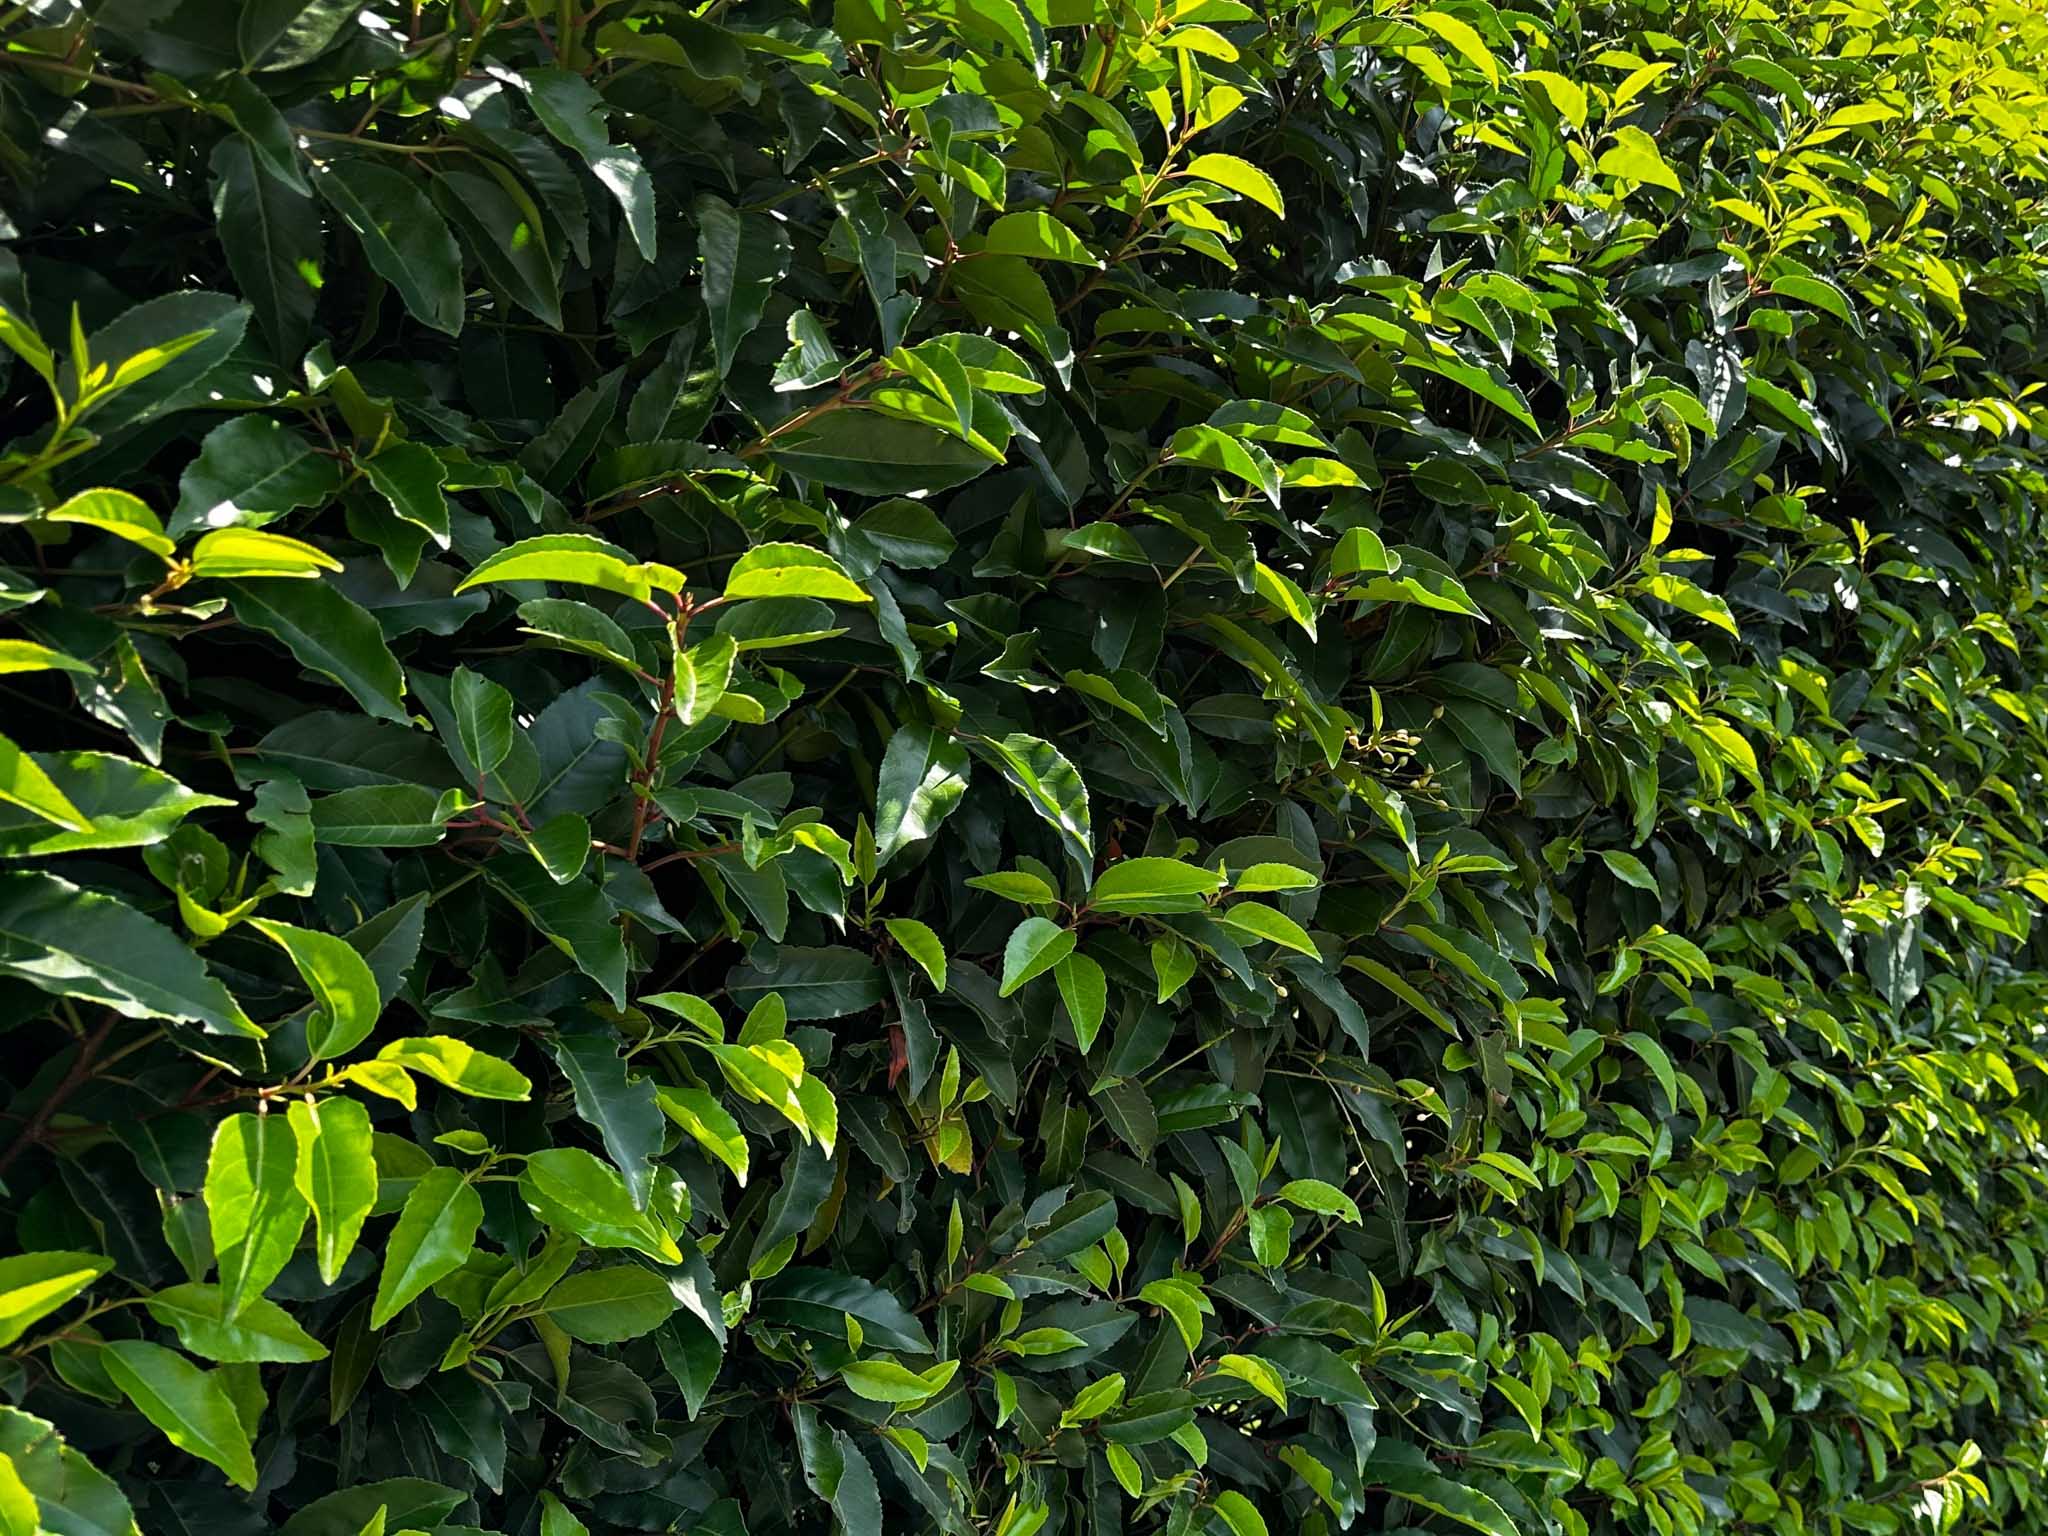
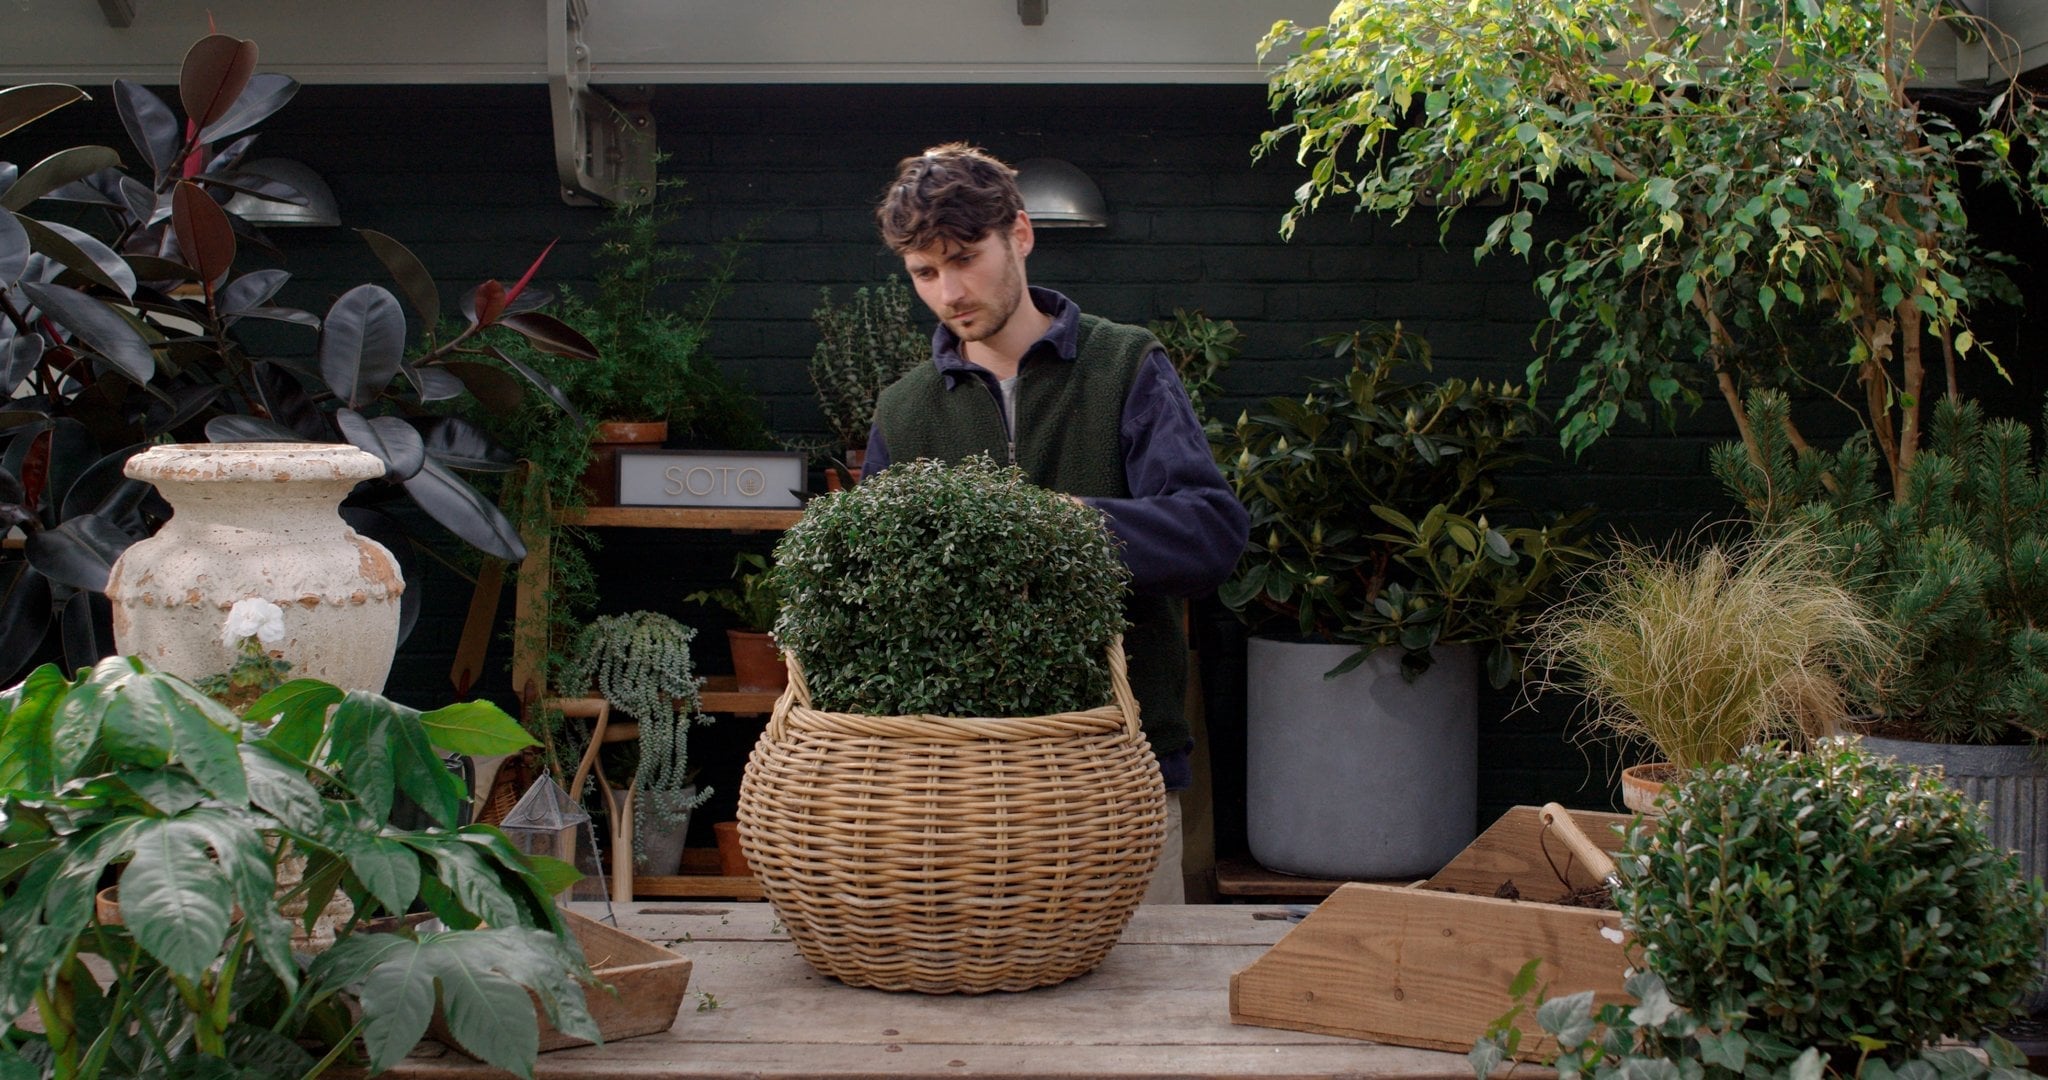
1. Before you plant - Plant within a few days of delivery, on a mild day when the ground is neither frozen nor waterlogged. If you need to wait, stand the plants upright in a sheltered, shady spot and keep the root balls moist.
2. Mark your line and dig a trench - Run a string between two canes to mark a straight line, leaving room behind to reach both sides when clipping. Dig a trench roughly 60cm wide and as deep as the root balls, and loosen the soil at the base with a fork.
3. Improve the soil - Mix plenty of compost into the soil you have removed. On heavy clay, add grit to help drainage.
4. Space your plants - For Classic Planting, space plants 50cm apart. For Established Density, space them roughly 33cm apart. The top of each root ball should sit level with the surrounding soil, so take care not to plant too deep.
5. Loosen the wrapping - Untie the hessian at the neck of each plant and fold it back from the top of the root ball. The hessian is biodegradable and can stay below the soil. Remove any plastic, string or ties completely.
6. Backfill, water and mulch - Fill around the root balls with your improved soil, firming gently with your heel. Water each plant thoroughly, then spread a layer of finishing bark along the base, keeping it just clear of the stems.
7. Aftercare - Water deeply once or twice a week through the first spring and summer, especially in dry weather. Trim lightly in late summer to encourage bushy growth. Once established, clip once or twice a year between late spring and late summer, ideally after flowering. Always clear away clippings after trimming.




 Gardening Gloves£16

 Rosemary£6